
Fresh paint is the fastest way to make a tired room feel new, and you do not always need to hire painters to get there. With a free weekend, some basic tools and the right plan, DIY wall painting ideas can completely transform a bedroom, living room or kids’ room for a fraction of a professional job. This guide walks you through choosing colours, preparing walls the Indian way, and simple painting techniques that look impressive even when a beginner does them. Roll up your sleeves: by Sunday evening, your room can look like it belongs in a magazine.
Plan Your Colour Story First
Before buying paint, decide the mood of the room. Soft neutrals make small rooms feel bigger; one deeper accent wall adds drama without darkness. In Indian homes, warm shades like terracotta, mustard, olive and indigo look stunning against wooden furniture and brass accents. Always test a small patch on the wall and observe it in morning and evening light, because colours shift dramatically through the day.
How Much Paint Do You Need?
Measure the wall area (length multiplied by height, minus doors and windows). One litre of paint typically covers about 100 to 120 square feet with one coat on a primed wall, and most rooms need two coats. Buying slightly extra from the same batch avoids colour mismatch later. Keep leftover paint labelled for touch-ups.
Preparation: The Step That Decides the Result
Good painting is 70 percent preparation. Move furniture to the centre and cover it with old bedsheets or plastic. Fill cracks and nail holes with wall putty, let it dry, and sand it smooth. Wipe dust off with a damp cloth. In older Indian homes, check for damp patches near bathrooms and balconies; paint over damp will peel within months, so fix the seepage source first or use a damp-block primer.
Mask Like a Professional
Apply painter’s tape along skirting, switches, door frames and the ceiling line. This one step is what separates a neat DIY finish from a messy one. Lay newspapers or plastic sheets on the floor, keep a damp cloth handy for drips, and remove switch plates if you can, instead of painting around them.
Techniques That Look Designer-Made
The Classic Accent Wall
Paint three walls a light shade and one wall, usually behind the bed or sofa, a deeper colour. It is the simplest of all DIY wall painting ideas and it never fails. Add a framed artwork or a mirror and the wall becomes the room’s focal point.
Two-Tone and Half-Painted Walls
Divide the wall horizontally with tape: a darker shade on the lower half and light above. This looks modern, hides scuff marks from chairs and bags in the lower section, and works beautifully in kids’ rooms and corridors. Keep the dividing line at about one-third of the wall height for the most balanced look.
Stencils and Simple Patterns
Stencil designs, easily available online and in hardware stores, let you create motifs inspired by Indian block prints, jaali patterns or simple geometrics. Use a nearly dry brush or sponge so paint does not bleed under the stencil. If stencils feel risky, try wide painter’s-tape stripes or triangles for a crisp geometric effect that peels away to reveal perfect lines.
Tools and Materials You Will Need
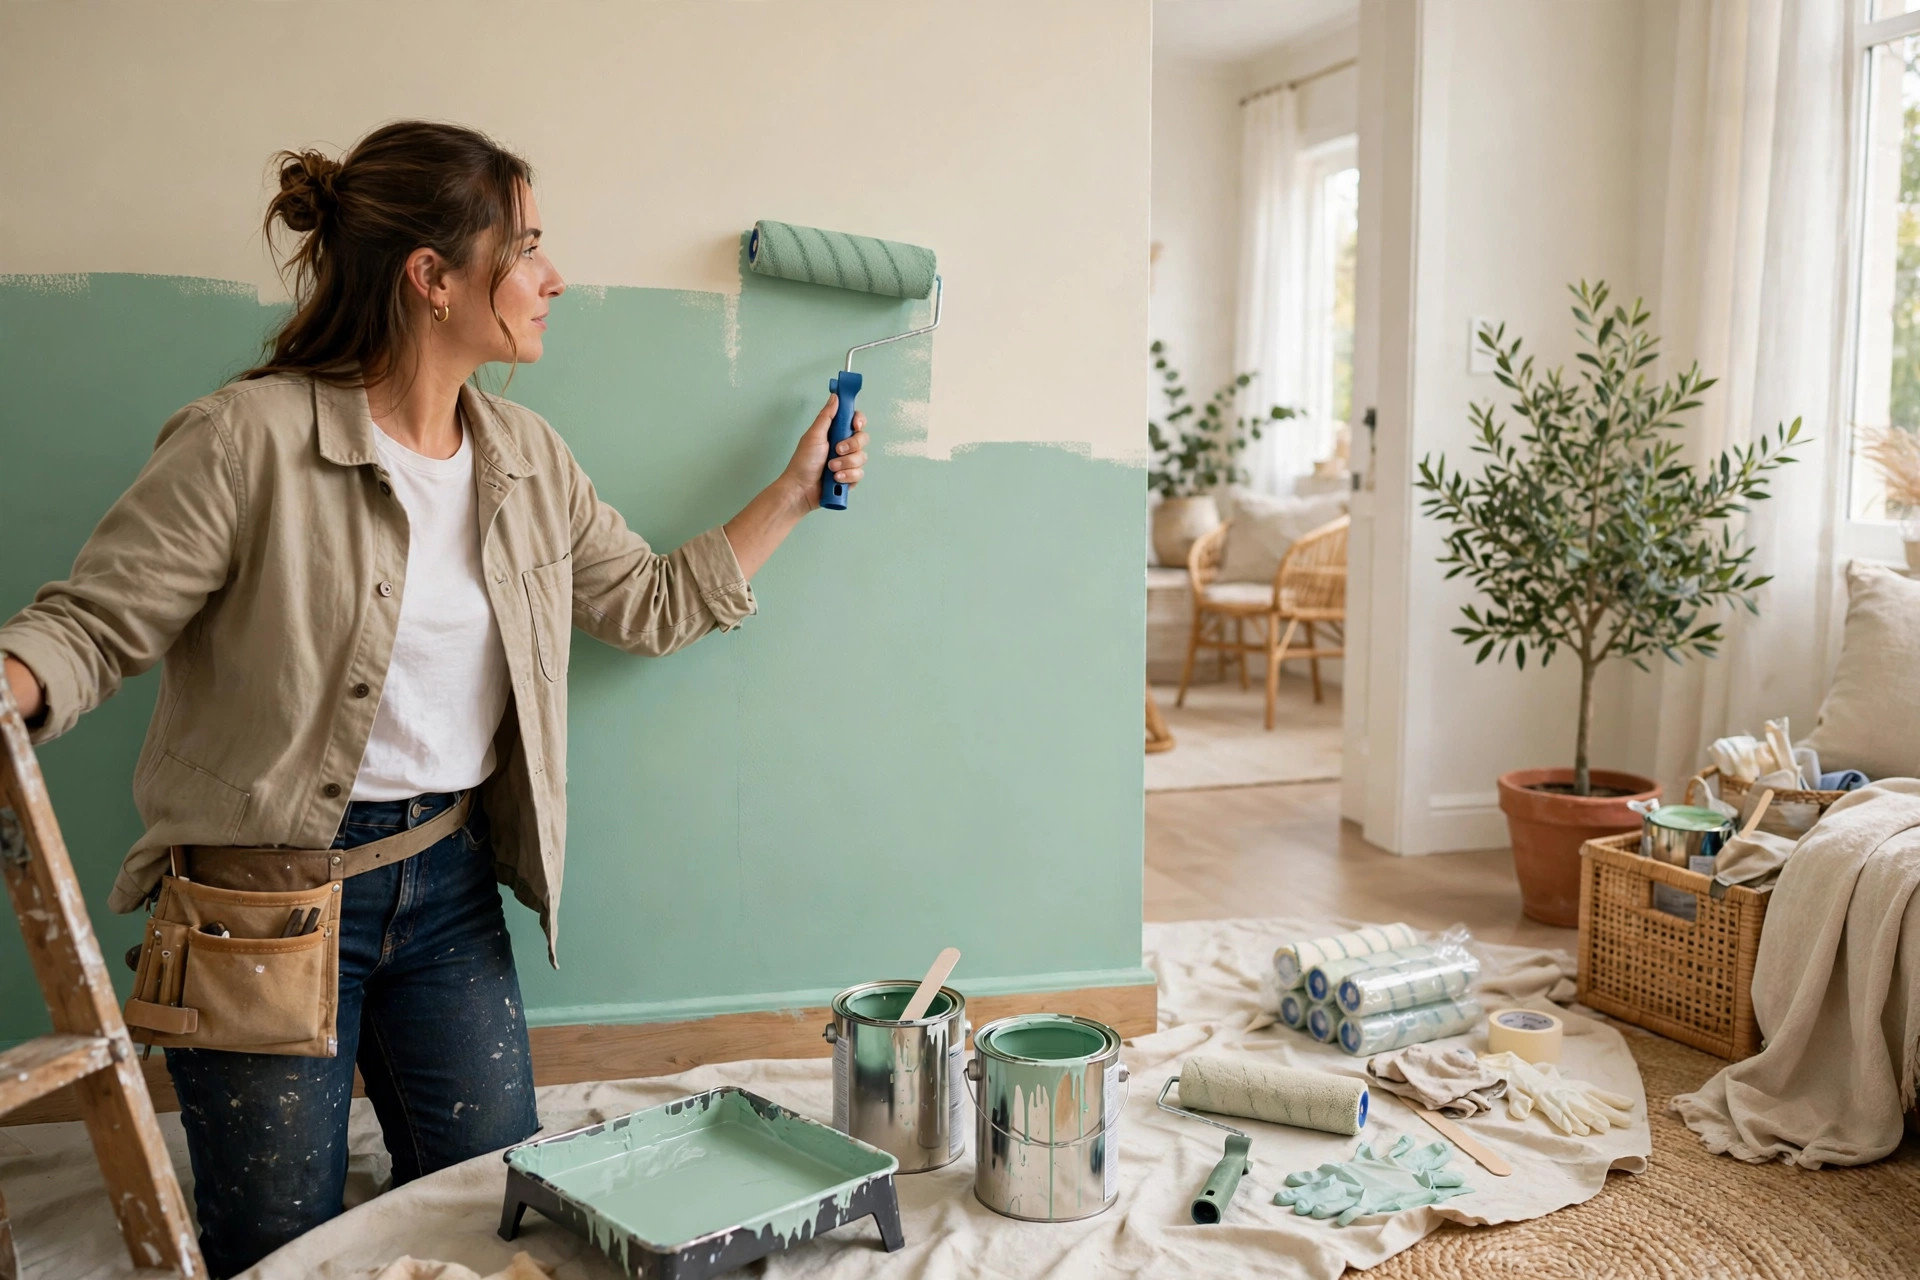
Gather everything before you start, so the work flows without trips to the market mid-room. You will need: paint and primer, a 9-inch roller with an extension pole, a tray, a 2-inch brush for edges, painter’s tape, wall putty and a putty knife, sandpaper (120 and 220 grit), a ladder or sturdy stool, plastic sheets or old bedsheets for covering, a bucket of water and a damp cloth for drips. Good brushes and rollers are worth a little extra money; cheap ones shed bristles and leave streaks that no amount of skill can hide.
Stay Safe While You Paint
Work in a ventilated room, keep windows open while paint dries, and take breaks if you feel dizzy. Place ladders on flat ground, never overreach sideways, and keep paint buckets closed and away from children and pets when you step away. Water-based paints, which most Indian homes use for interiors, wash off skin and tools with plain water, making clean-up easy and safe.
Paint in the Right Order
Prime first if the wall is new, stained or changing from dark to light. Then cut in edges with a brush around the ceiling, corners and tape lines, and fill the large areas with a roller in smooth W-shaped strokes. Wait for the first coat to dry fully, usually four to six hours, before the second coat. Remove tape while the final coat is still slightly wet for the cleanest edges. More weekend-friendly projects like these are collected in our guide to DIY home projects for beginners.
Combine Paint With Bigger Budget Upgrades
A painted room often inspires one more change: new cushion covers, rearranged furniture, or a gallery wall. Keep momentum by planning paint as phase one of a gradual makeover, the way these DIY home improvement ideas for Indian homes suggest, so each weekend adds visible progress. When money is tight, prioritise the rooms you see most, and use these low budget home improvement ideas to stretch every rupee.
Finishing Touches and Clean-Up
When the final coat is dry, walk around the room in daylight and look for misses, drips or thin patches, especially near corners and behind where furniture stood. Touch up small flaws with a brush using leftover paint from the same batch. Wash rollers and brushes immediately with water so they survive for the next room, rinse the tray, and store leftover paint with the lid sealed tightly, labelled with the room and colour name. Return furniture only after the paint has cured for at least a day, and use felt pads under legs so fresh walls and floors stay unmarked.
Conclusion
Painting your own walls is satisfying, economical and surprisingly forgiving once you respect preparation and masking. Start with one room, follow these DIY wall painting ideas step by step, and you will gain both a refreshed space and the confidence to tackle the rest of the house. Few home improvements give so much change for so little money.